
One Room Challenge – Week 4, Spring 2020 – Construction & Project Management
Now that ordering is complete, my husband and I are rolling up our sleeves and getting to work! In last week’s post, I’d mentioned that I am both the designer and client; but now as a result of covid-19 and the construction ban here in Pennsylvania we will be our own subcontractors – phew! This marks step 4 in our design process – Construction and Project Management. But before starting any work, we needed a plan.
So… how exactly did we plan to flip this space in eight weeks?
1. Lighting: First things first - Function. In the world of interior design, both aesthetic and the function are equally important; and that includes lighting which my living room was in desperate need of. Like many homes in my neighborhood, built around the mid-century period (my home was built in 1961), there were no ceiling lights. The large bay window in the living room provides tons of natural light during the day but in the evening when the sun is down, it gets pretty dark, which now that I reflect on it, may be why I never wanted to hang out in that space. The little lighting that we had with our floor and table lamps just were not enough.
So when we decided to tackle this space for the One Room Challenge I knew I had to address it. I like to layer lighting in a home with both general lighting also known as overhead lighting and task lighting usually achieved with lamps. So with that we had six recessed lights installed in our living room. I am lucky enough to have a brother-in-law who is a contractor; so he and my husband partnered one afternoon pre-corona (just in time) to install the new lights in our 11 foot tall living room and wow what a difference!
2. Paint: Speaking of paint, for this project I selected Pure White by Sherwin Williams as our wall color, which was generously sponsored by Sherwin Williams for this project. I knew this color would be the perfect shade to allow as much natural light in, while creating a blank canvas allowing the gray, black, wood textures and metallic finishes, in the furniture and décor pieces, to pop.

3. Construction: My husband graciously accepted the challenge of building our custom 11ft entertainment wall. So, I picked up some graph paper, drafted the plans and he went to work.

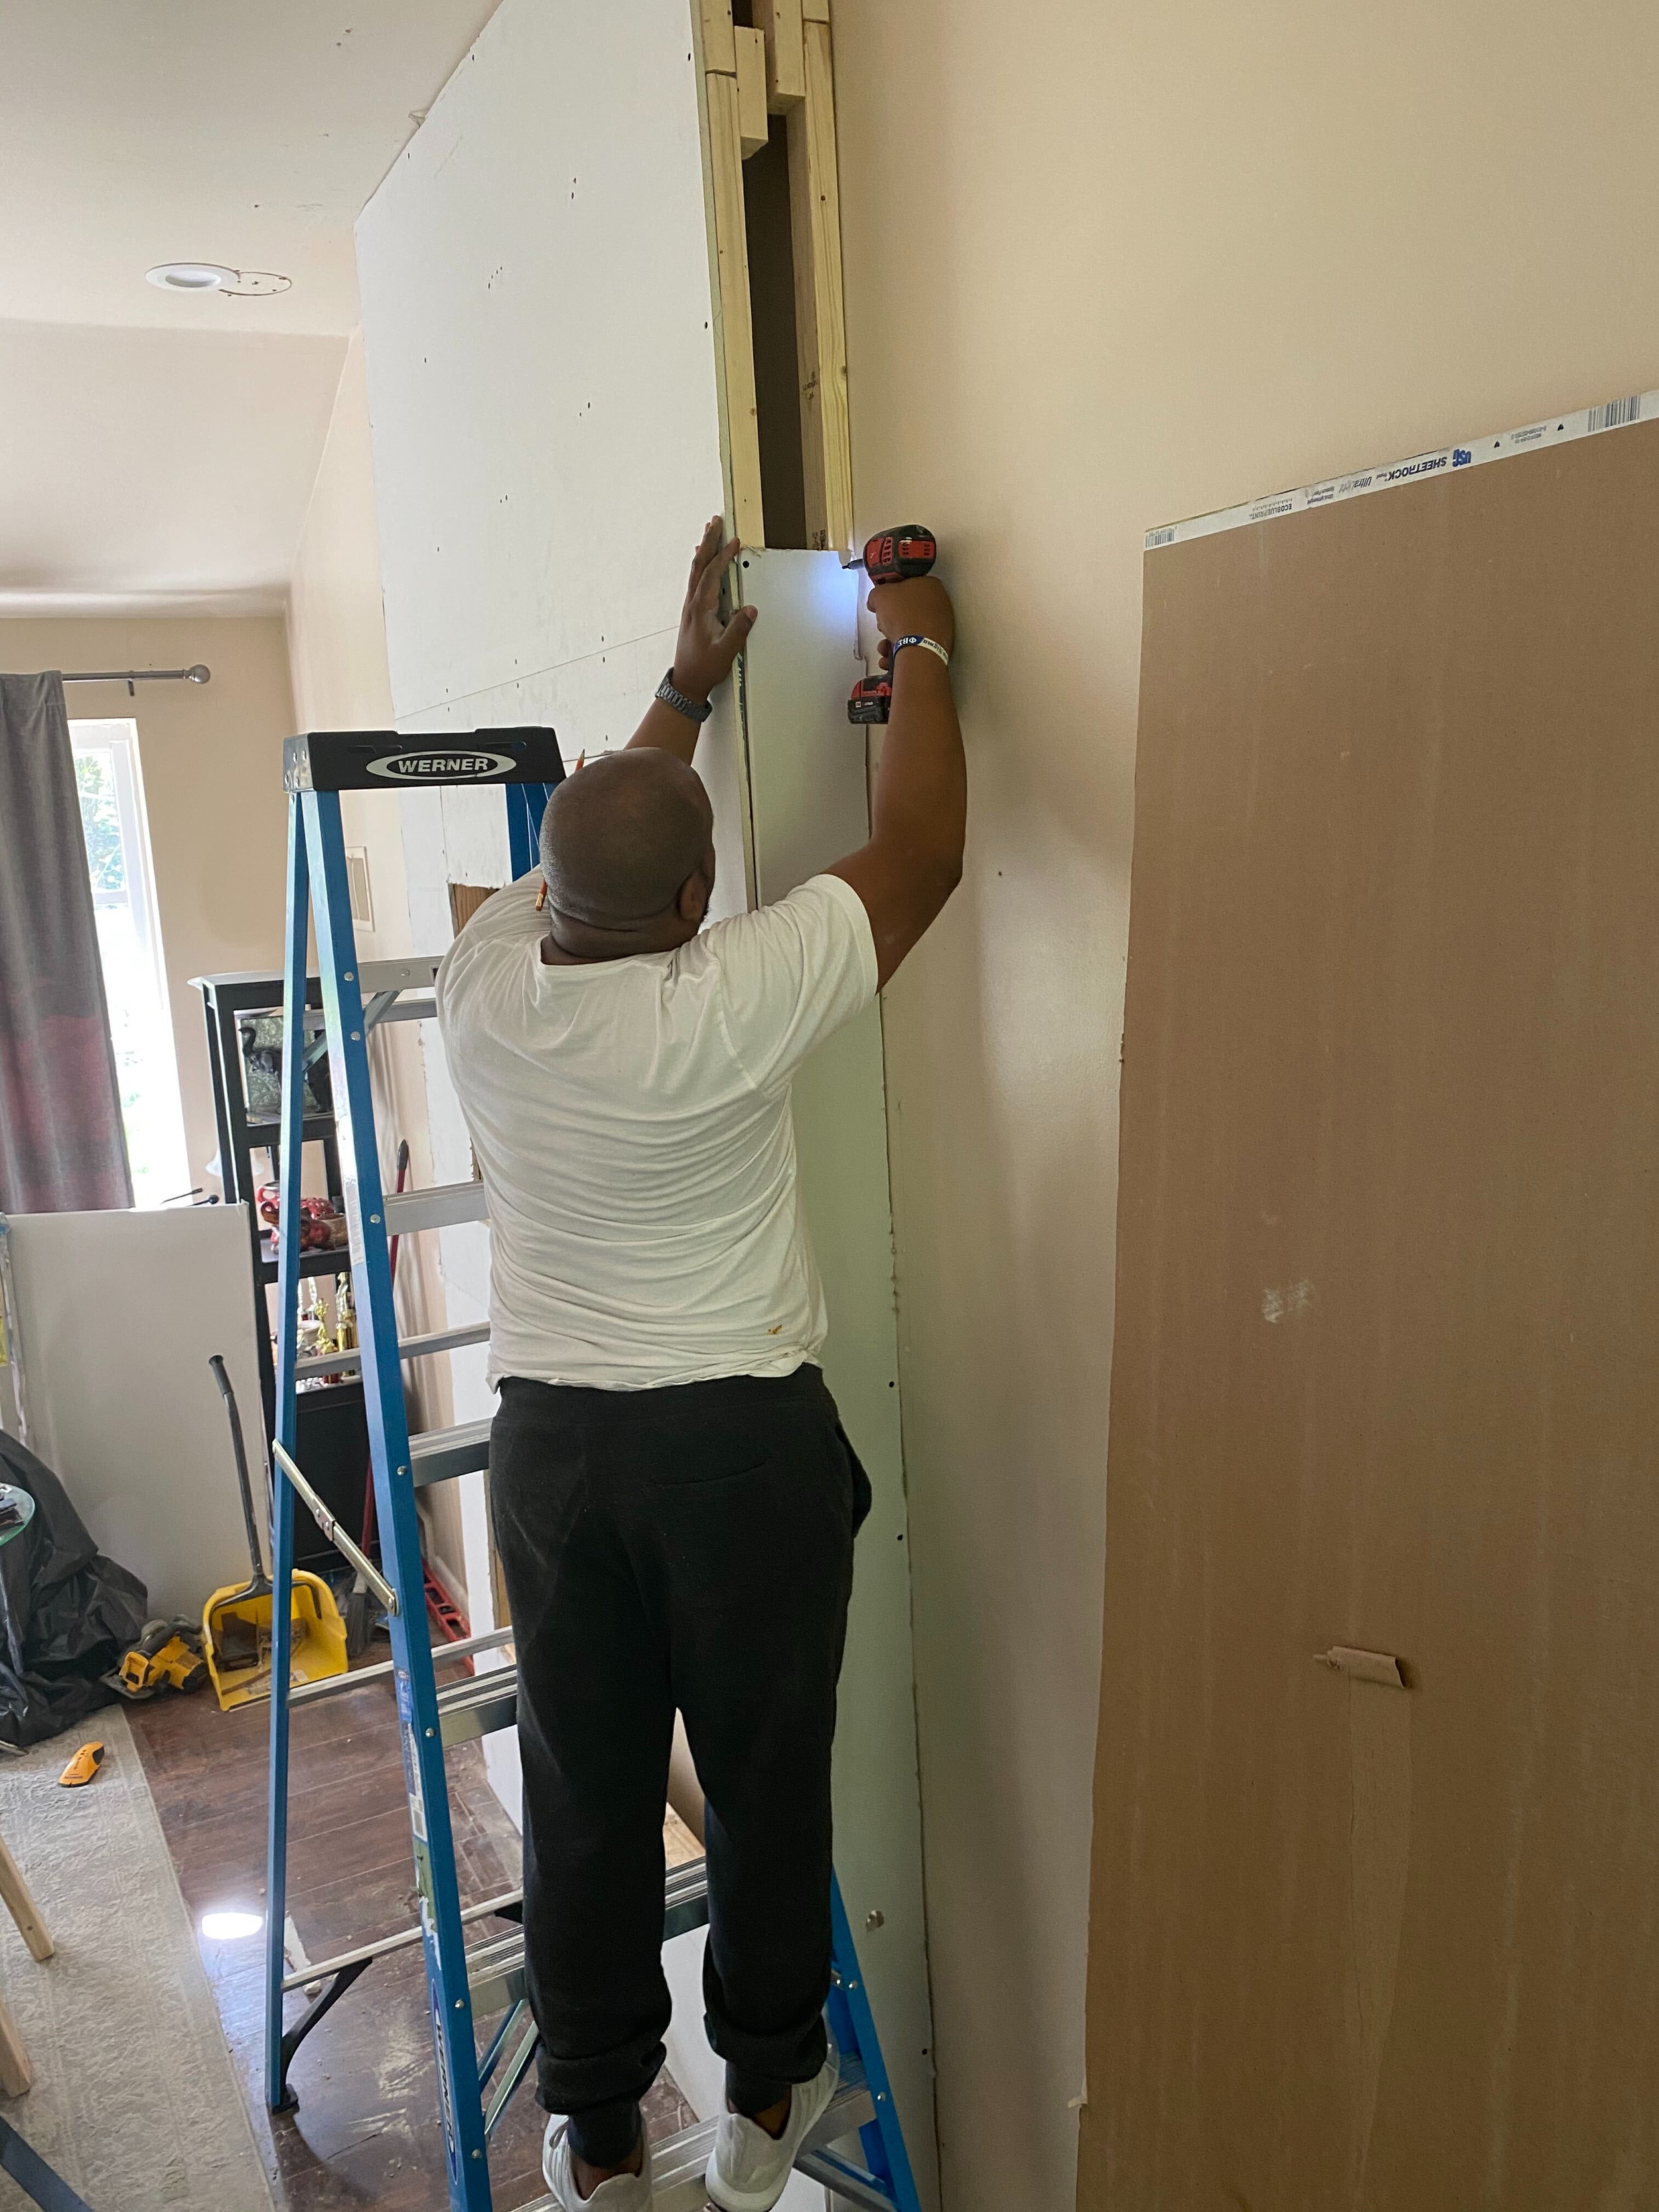
One of my favorite features of the design plan, the idea for a entertainment wall came from a second pain point in my living room. The never-ending wall that combined 18 feet of space in my living room and 19 feet in the dining room. I never knew what to do with all that space. Placing even large scale artwork on that wall seemed to not be enough and I thought of adding wallpaper or picture molding there over the years… but because it’s so open I never knew where to naturally start and stop the application. So, I had to create something that would bring interest to the space while creating a sense of division and coziness without impacting the openness of the space if that makes sense. I love how opened it is but it was so hard to design around that without making it feel like a museum (cold and not livable). With all of those hurdles in mind, a entertainment wall became the perfect solution. At only 8” deep it doesn’t impede the open feel of the space, but at 7 feet wide, its placement right in the center of the living room creates a defined and more cozy space.
I wanted to channel the beauty of Parisian architecture in my home and the fireplace was the perfect area to do so. I decided on a plaster finish for the fireplace to add some texture to the room. I went with the Roman Clay collection in Black Star Portola Paints & Glazes. The paint has a clay-like effect and reminds me of plaster found in French architecture and art.
To expand on the black, I decided to trim our windows in a black paint color to give a modern edge. My favorite black color right now is Caviar by Sherwin Williams it has a warm brown undertone which I love.
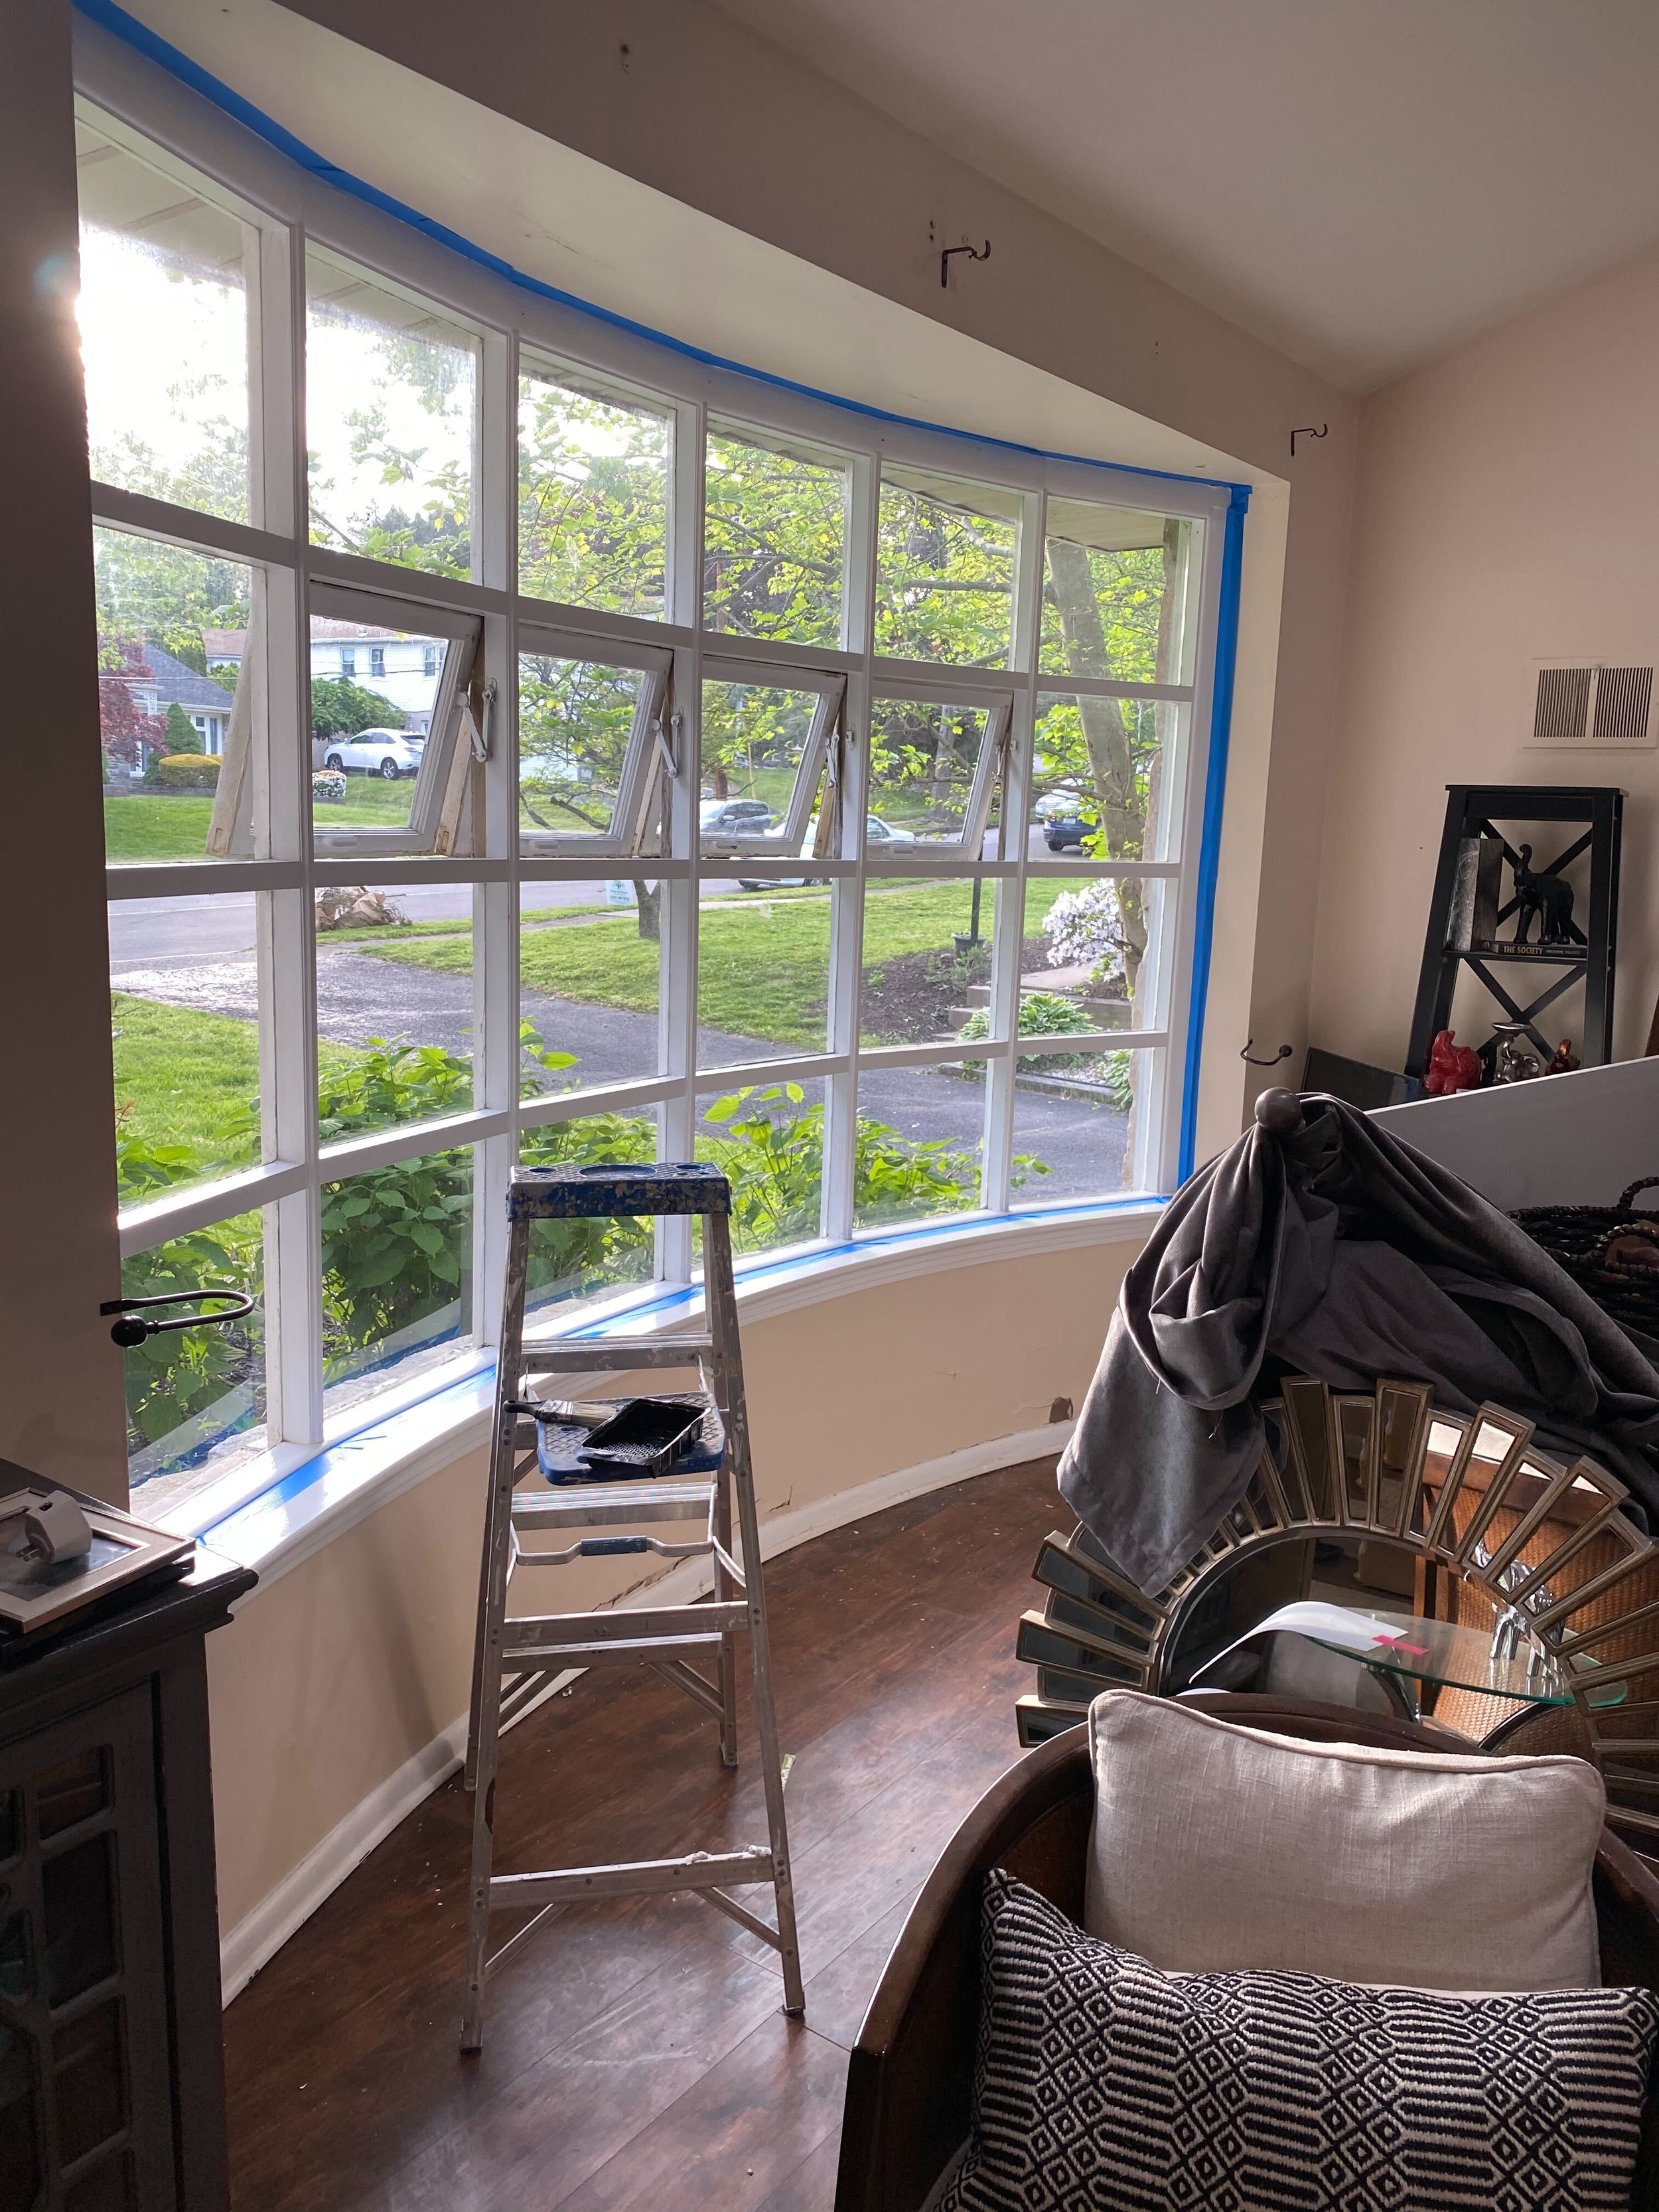
Pro Tip: Painting windows can be tricky, and you don’t want to get paint on your window glass. Neither did I. So, for my windows, I used a rubber tipped angle brush to get clean lines. You can also use this liquid protective coating on the corners of windows to avoid getting any black streaks on the glass: window covering. It literally rolls on and peels off when you’re done.
Just as I was about to paint the base molding (which was original to the house), I noticed that it was showing its age and wouldn’t exactly match the contemporary style of the room. I won’t be adding any molding to my ceiling because it is a pitched ceiling, but I will be replacing all my base molding. I decided I wanted to go bold and am using 5” base molding. 3” is a pretty standard size so this is just a bit above that. Molding elevates a space and adds character and depth, while providing protection to the walls. The architectural mill-work reminds me of the intricate details on some of the sculptures in Paris. Even with a simple profile, trim molding makes an impact by framing a space and is a quick and easy upgrade.
So last weekend, I started painting. I wanted to do the most intricate work first so I started with the window trim in the living room and dining room and then moved to the dining room walls. Well…. the windows with all 36 windowpanes took all weekend… 2 full days. So after painting the windows, removing the base board molding, painting the walls and ceiling in the dining room I tapped out! I love the way everything looks but I’m exhausted.
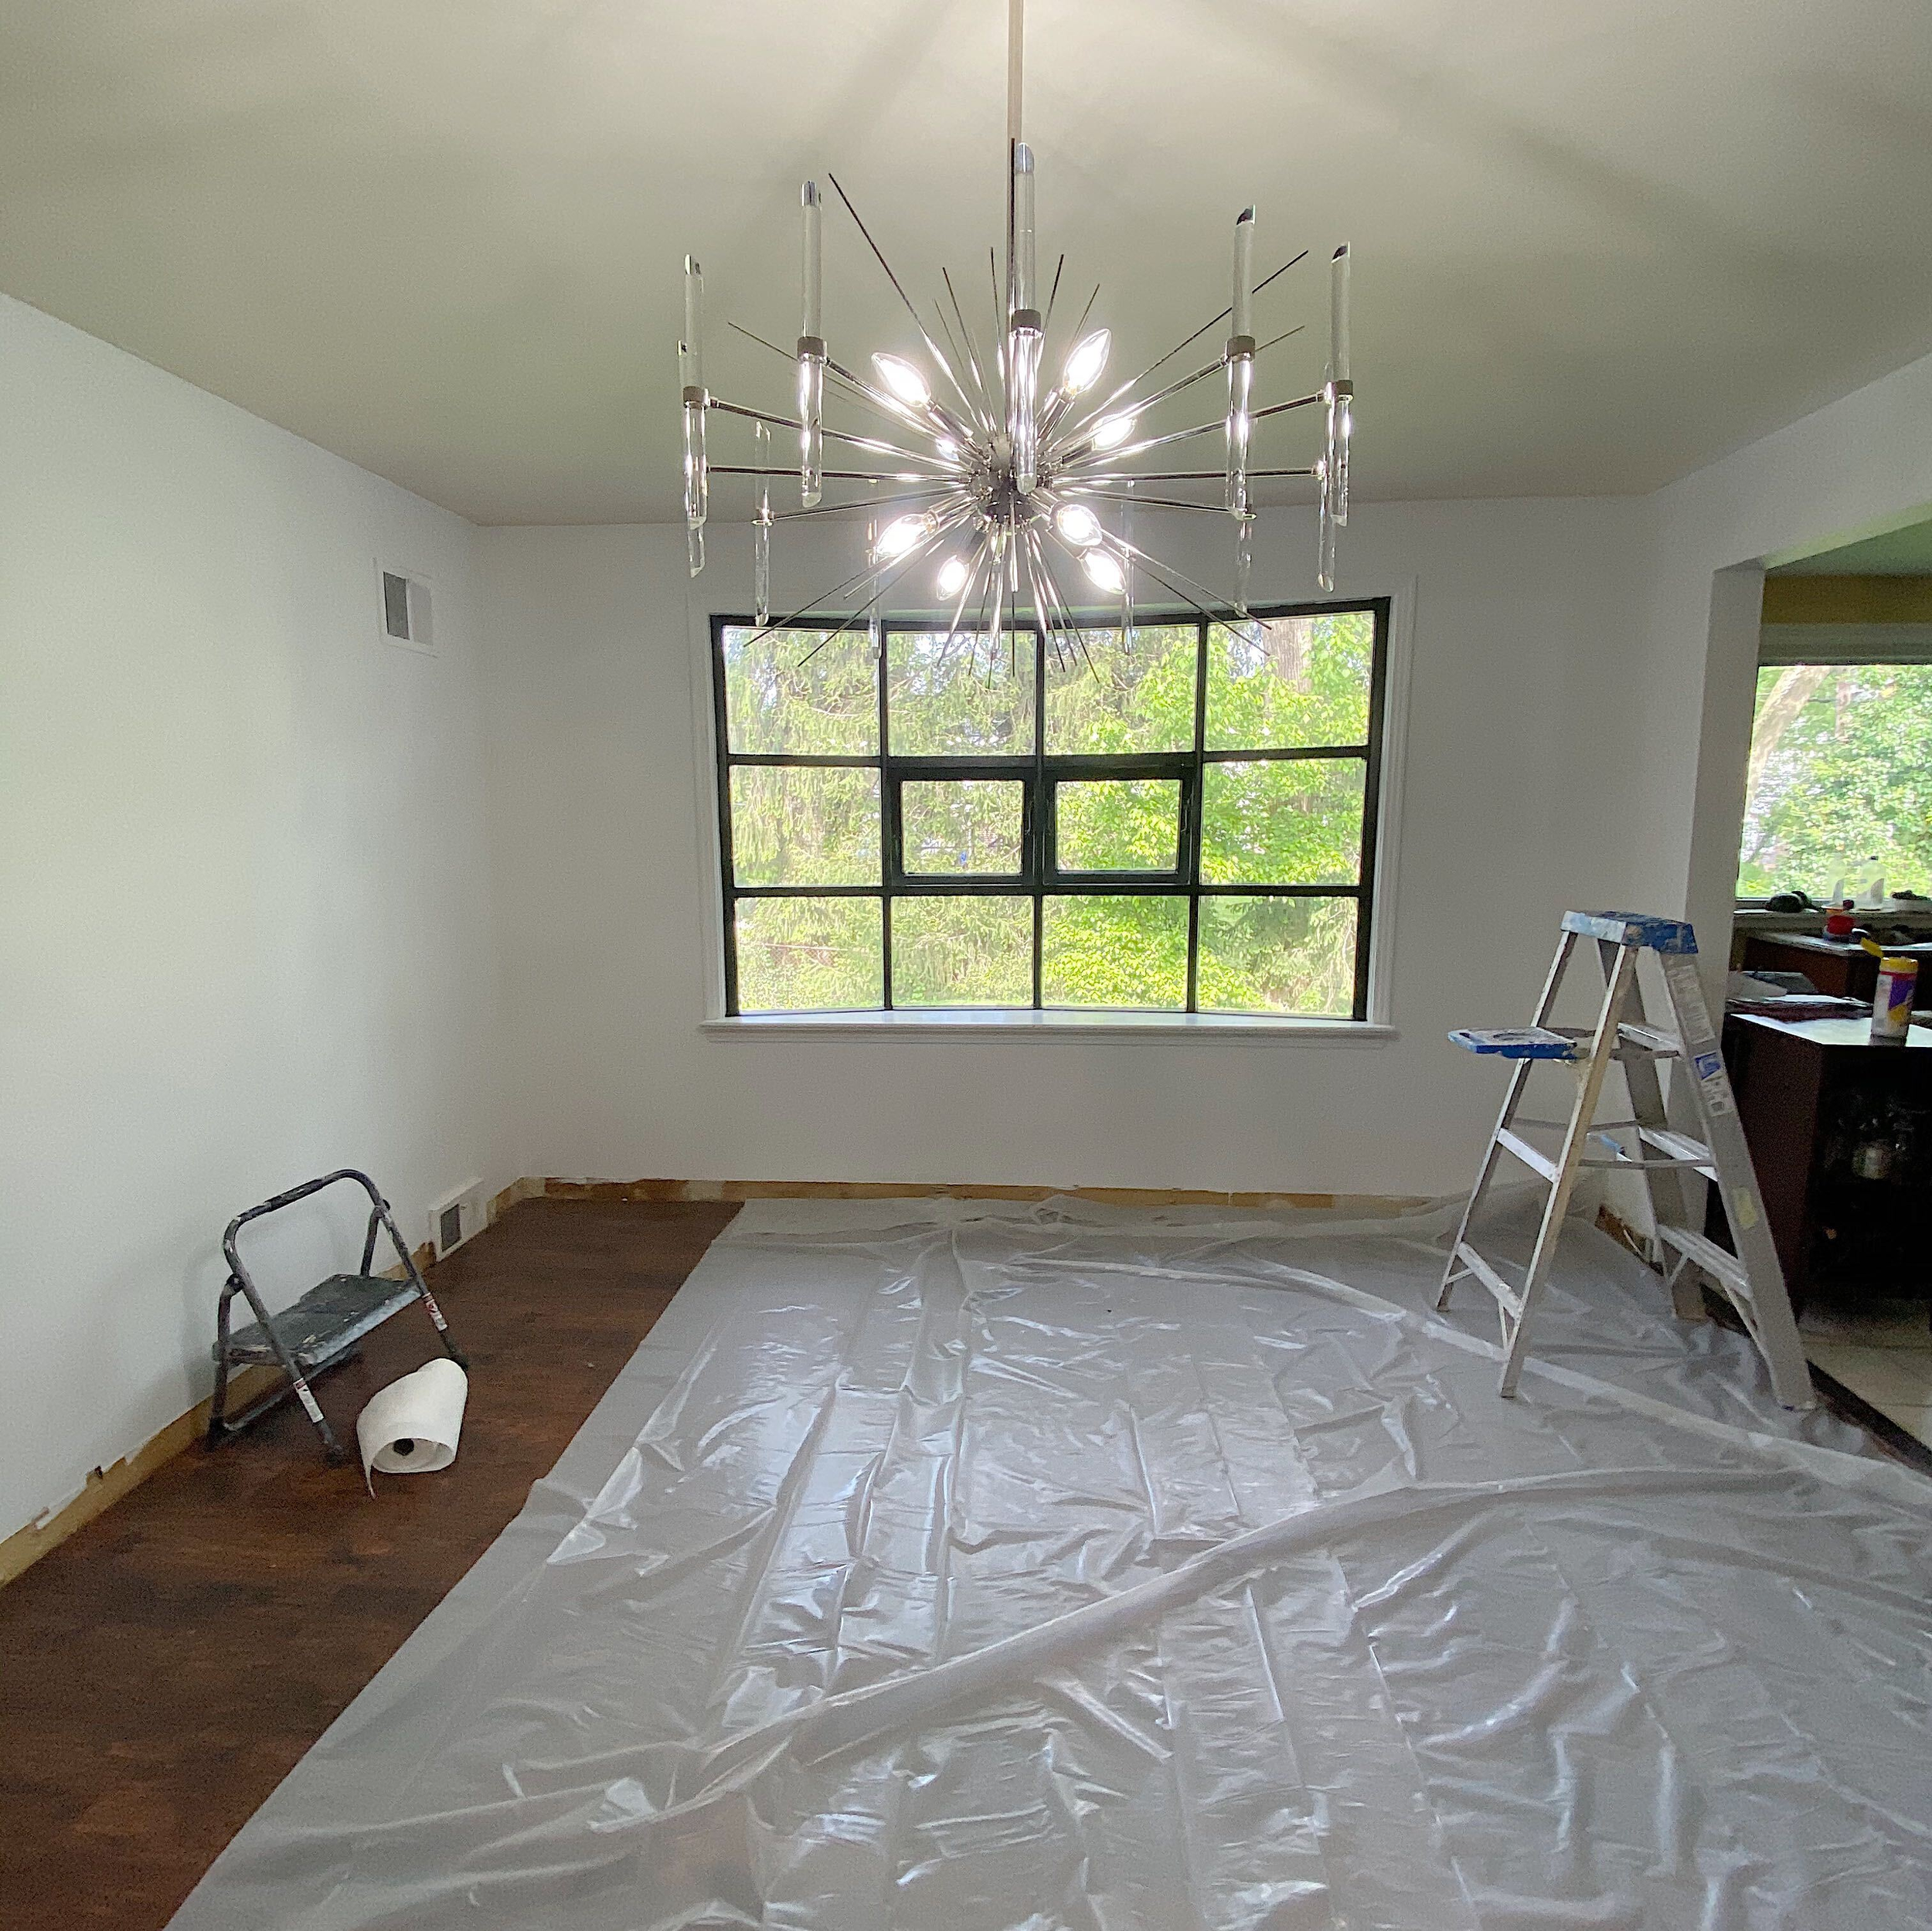
While it was fun, it was much more work than expected. From prepping everything by sanding and filling in wall holes with spackle to ensuring the walls are ready for paint... I was quickly overwhelmed?! Although I am relishing in the satisfaction of my hard work on my windows and dining room, I am ready to hand this task over to the pros, haha. Now that it is end of May, the construction ban has been lifted here in Pennsylvania and with proper precautions we are bringing in the pros. So, I hired a painter to finish the rest of the painting! When hiring a contractor, it’s important that you do your research. You need one who has adequate resources and crew and the availability. This, combined with effective communication between you and the contractor, will help to ensure your project is completed on time and on budget. So now that paint is underway and the fireplace is almost done, I am looking forward to sharing the results with you! Be sure to check out our Instagram feed this week for real time updates and a peek behind the scenes!
XoXo,
Rasheeda Gray
